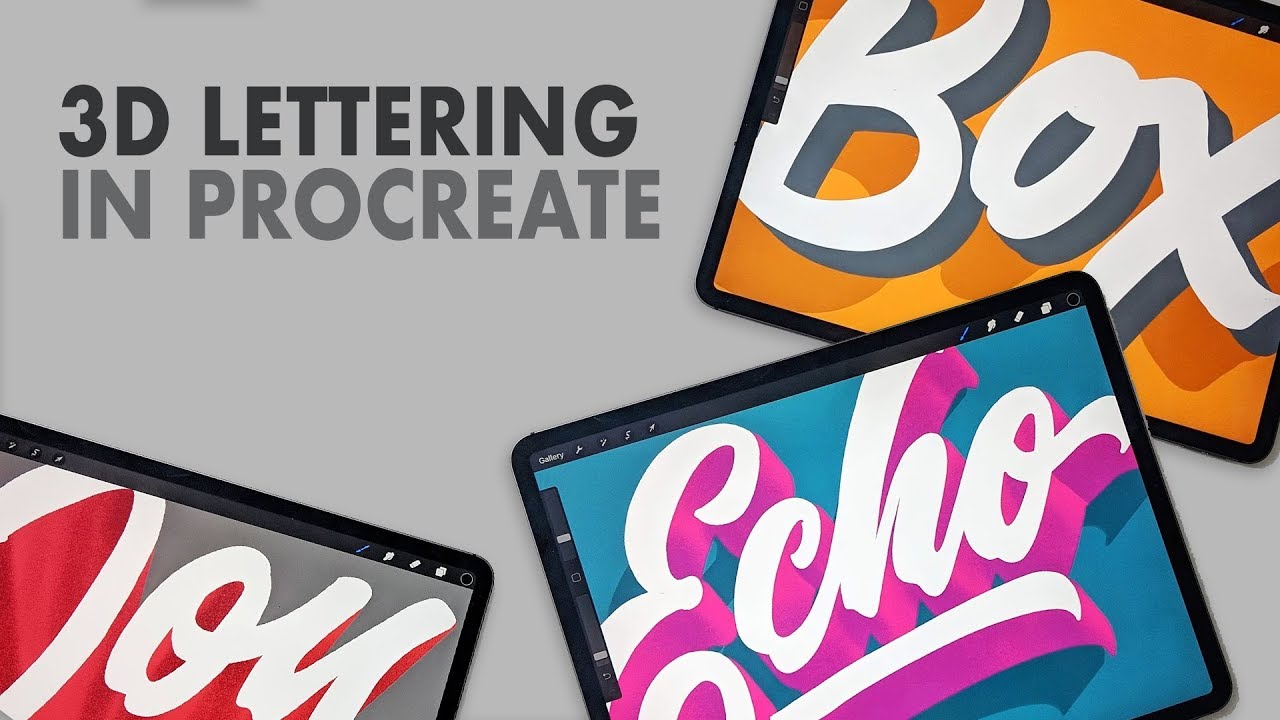
3D Lettering in Procreate - Part 2
 Method 2: Duplicate
The final effect of this method is similar to the Motion Blur method (Method 1). However, this method uses duplicate layers instead of motion blur to build the extrusion and shadow layers.

Start with a single layer of white text. In this tutorial, I’m using the word “Box.” Duplicate the single layer of white text to three layers.

Hide the top and bottom layers so that only the middle layer is visible.

Tap the Layers panel, then tap the thumbnail of the middle layer, then choose Alpha Lock.

Choose a dark colour - I’m using grey - and fill the text with that darker colour.

Turn off the Alpha Lock.
Next, duplicate the middle layer and use the Transformation tool to move one of the dark middle layers to create a 3D extrusion of the text. In my case, I moved one of the dark layers to the lower right.

Combine the two dark layers into one by choosing Merge Down in the Layer menu of the top grey layer.

In the Brushes panel, choose the small Monoline brush from the Calligraphy brushes and use it to join all the edges of text and fill in voids in the middle layer.
Make the top layer visible… just to see how well you’ve done so far.

Hide the top two layers and make the bottom layer visible.

Alpha Lock the bottom layer and then fill it in with black.

Turn off the Alpha Lock and duplicate the bottom layer. Move one of the bottom layers down and to the left.

Merge the two black layers into one layer.
Using the small Monoline brush, join all the edges and fill in voids.

Reduce the opacity of the bottom layer and change its blend mode to Multiply.

Un-hide the top and middle layers and move the shadow (bottom layer) to align with the 3D text extrusion.

You did it again! You made some 3D text!

Method 3: Perspective Guides
Again we’re going to be working with three layers: top text, middle 3D extrusion, and bottom shadow. This time we’re going to use drawing guides and the drawing assist tool to create a tapered perspective on the dimensional type.
I’m using the word “Joy” for this tutorial.

Tap on the Actions menu (the spanner wrench icon) and then tap into the Canvas sub-menu. Turn Drawing Guides on by tapping the switch button.

In the same menu, tap into Edit Drawing Guides. This will bring up a Drawing Guides sub-menu (a bar along the top of the screen).

Choose Perspective and then tap on your drawing canvas to create a vanishing point.

Adjust the vanishing point so the guidelines align with the edges of the text.

Duplicate the text layer twice, so that you have three layers of identical text. Hide the top layer and make the bottom layer your Primary layer.

Use the Transformation tool to resize and move the bottom layer down. Use the guidelines to make sure the bottom layer text is centred (horizontally) under the larger text.

Merge the middle layer into the bottom layer. Now you have only two layers - one hidden (top) layer and one visible (bottom) layer with two sizes of the same text in the bottom layer.

Tap the thumbnail of the bottom layer to bring up the Layer menu and choose Drawing Assist. This will force your brush strokes to follow the guidelines on your artboard.

Using the thin Monoline brush, join up all the edges of text.

Turn off Drawing Assist and fill in the voids.
Next, use Alpha Lock to fill in the whole bottom layer with colour. I’m using red.

Un-hide the top layer.

Create a new (blank) middle layer and, using the Layer menu, make the new layer a Clipping Mask over the bottom layer. Using a darker shade than your existing bottom layer - dark red, in my case - and the Bonobo Chalk brush at 50% opacity, shade in shadows on your 3D text extrusion.

Turn off the Drawing Guides by tapping on the Actions menu, choosing the Canvas sub-menu, and switching off the Drawing Guides button.
Duplicate the top layer and then drag the copy down so it becomes the bottom layer.

Alpha Lock the new bottom layer and colour it black.
Use the Transformation tool to select the black bottom layer, drag the layer down below the 3D extrusion text, and reduce the black text in size so that it’s just a bit smaller than the bottom of the text extrusion.

Tap the Adjustments menu and choose Gaussian Blur. Adjust the blur of the shadow layer to about 35%.

Tap the Layers panel and then tap the blend mode letter (N) on the bottom layer to change the blend mode to Multiply and reduce the opacity of the layer to about 50%.

You did it again! Well done you!

Hope this tutorial was helpful to you. Tag me in your own 3D text creations!
Leave a comment
Comments will be approved before showing up.